

Git and GitHub are two of the most important technologies every developer should learn. Many people think the terms, "Git" and "GitHub" mean the same thing. But they have different meanings.
What is Git?
Git was created in 2005 by the developers working on the Linux operating system. It's a free and open-source distributed version control system (or DVCS) for tracking changes in any kind of set of files including text files and images. Git is typically used to coordinate work among the programmers who are working on source code together during software development.
Git is built to manage a wide range of projects, spanning small to extremely large, easily and efficiently. With Git, you can create an identical copy of a file and make changes to that file without affecting the original file. Then, you can merge the copy with the original file whenever you're pleased with your changes.
What is GitHub?
GitHub is a web-based Git repository hosting service launched in 2008 that provides all of Git's distributed version control and source code management (SCM) functionality as well as additional features. You can use Git without GitHub, but you can't use GitHub without Git.
There are numerous GitHub alternatives, such as GitLab and BitBucket. All of these are referred to as "remotes" in git terms and are entirely optional. You don't need a remote to use Git, but using a remote, will make it easier to share your code with others.
How to install Git?
To use Git, you have to install it on your computer. The installation process of Git is pretty easy.
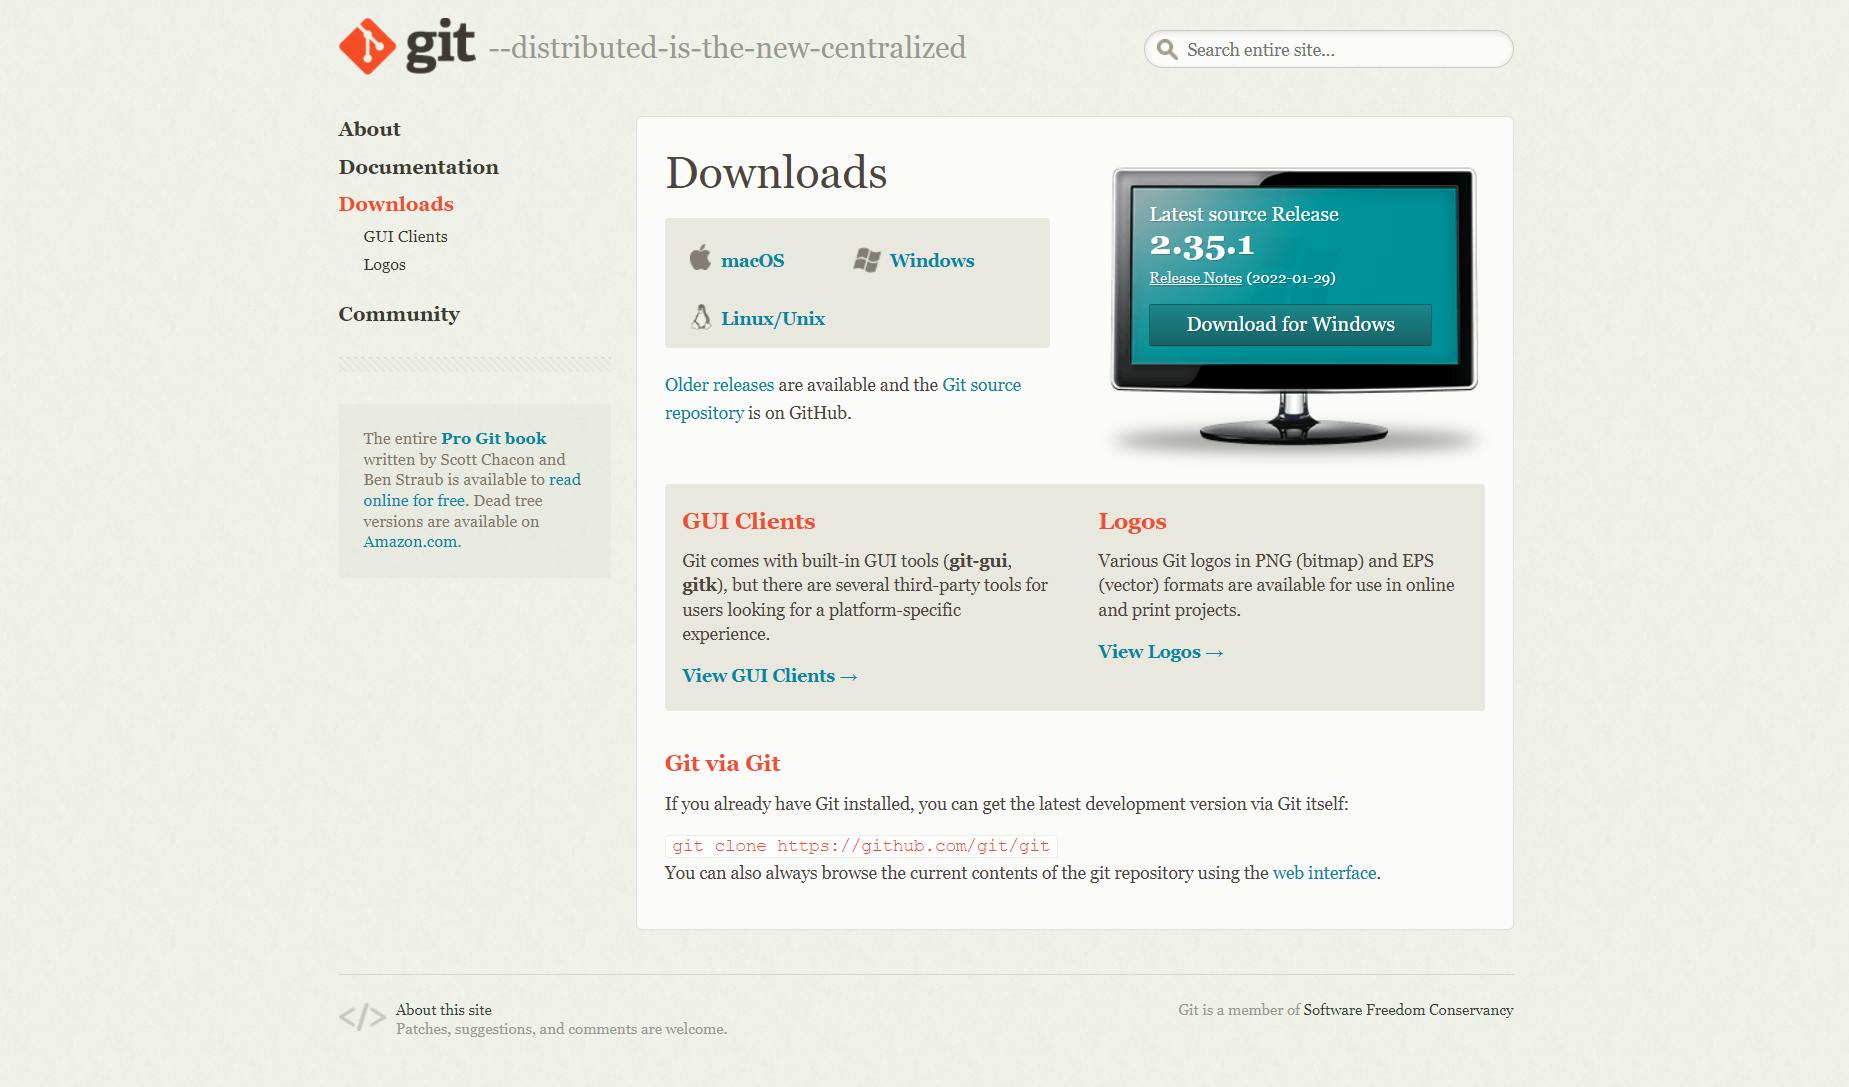
If you're a Windows or Mac user then you can download the latest version from the official website and then install it on your computer.
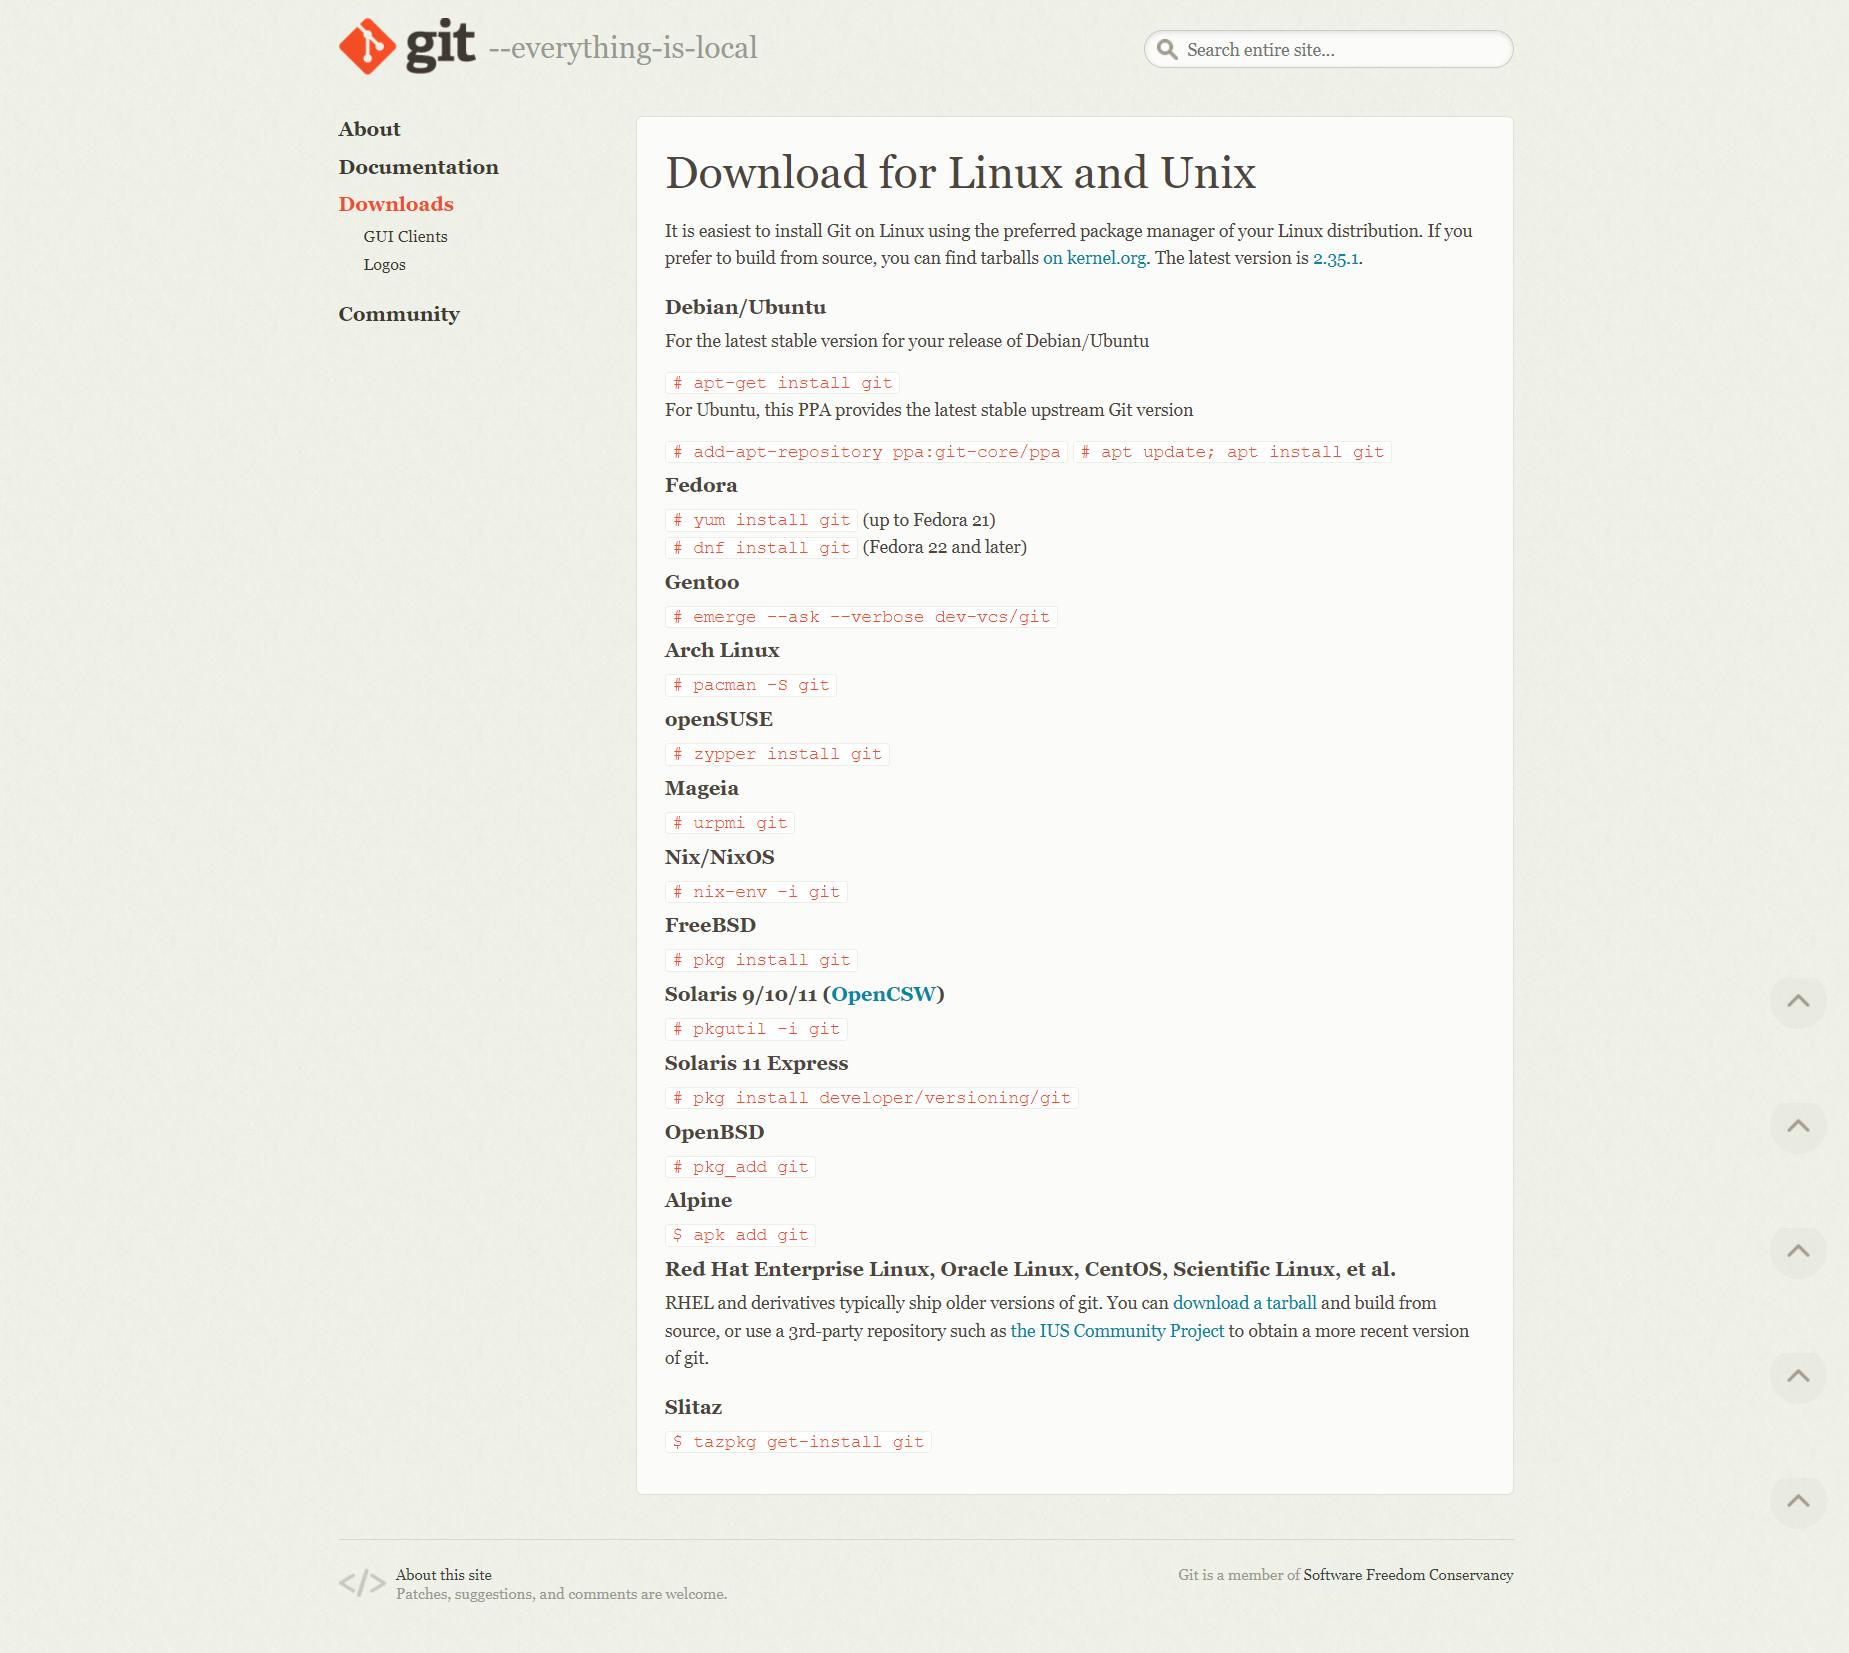
If you're a Linux/Unix user go to the Download for Linux and Unix page of the official website.
How to configure Git?
After installing Git, you can verify it by running this command on the command line.
git --version
This command shows you the current version of Git that is installed on your computer.
Next, you'll have to set your username and email address. Git will use this information to identify who made specific changes to files.
To do that, type and execute the commands given below. (You have to replace "USERNAME" with your username and "EMAIL" with your email address.)
git config --global user.name "USERNAME"
git config --global user.email "EMAIL".
How to create a GitHub account?
You can create a GitHub account very easily by following the steps given below.
- Go to official GitHub website

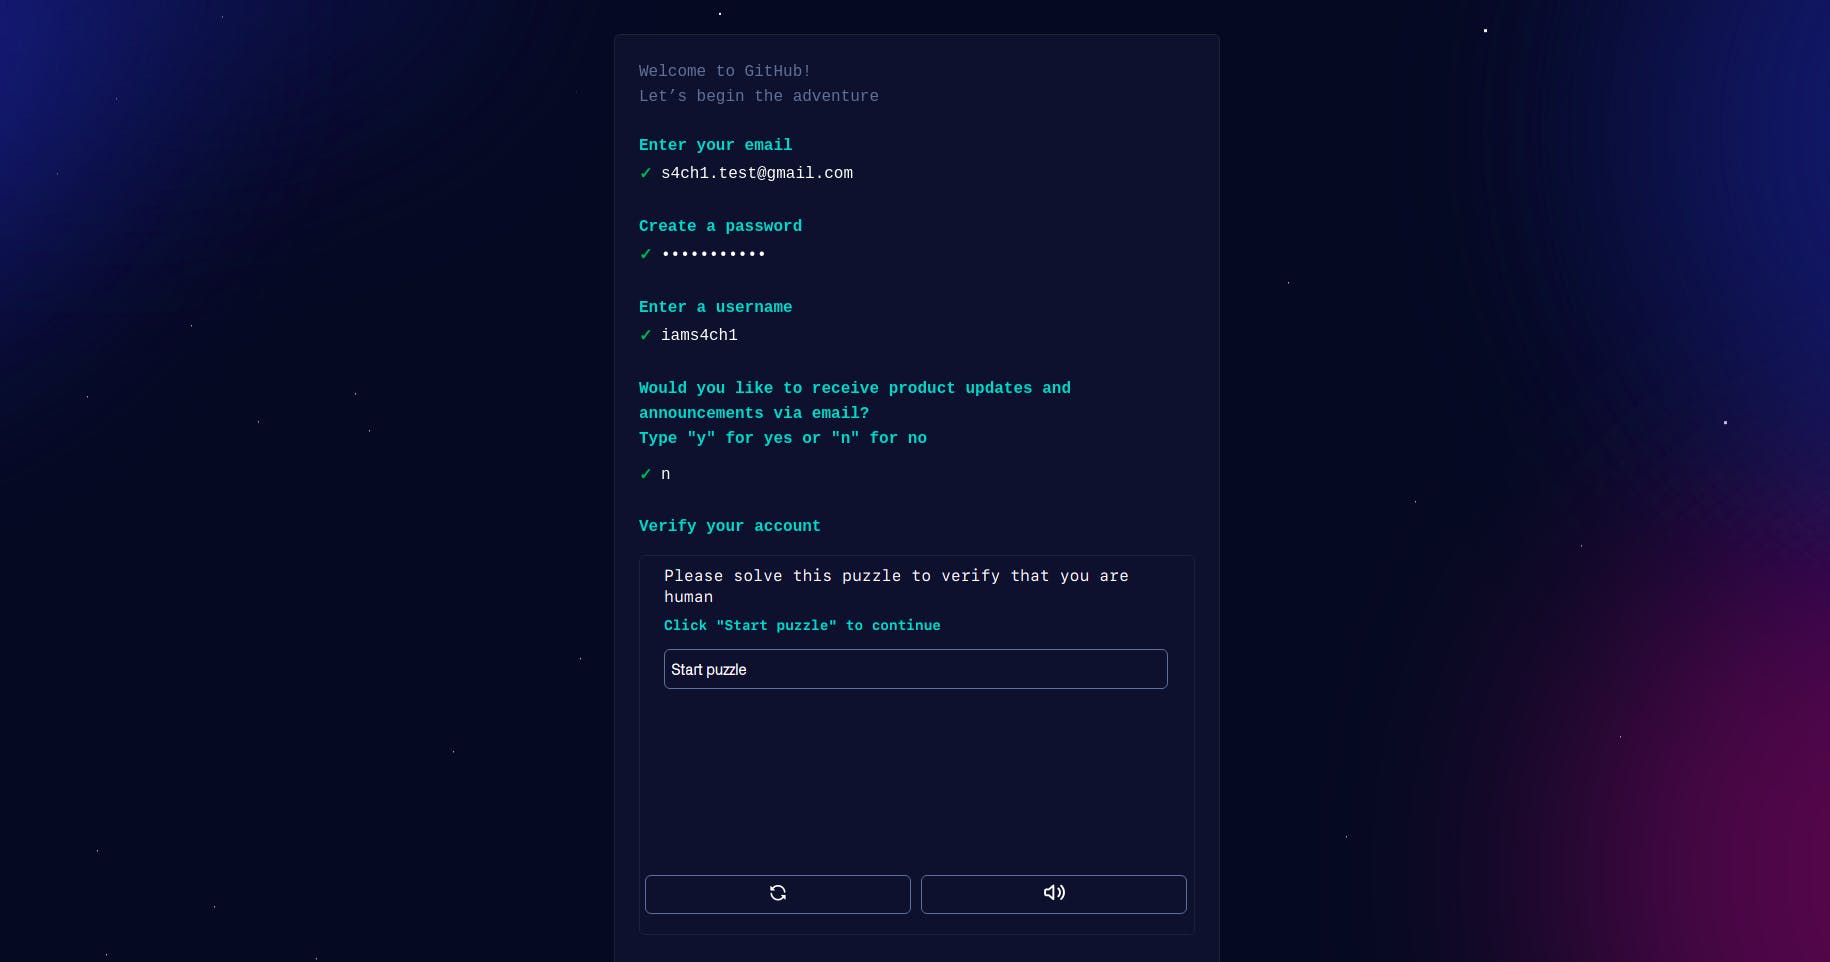
- Enter your email and click on the "Sign Up for GitHub" button.

- Enter the required details. Then solve the puzzle to verify you're a human.
- Enter the verification code sent to your email to verify your email.

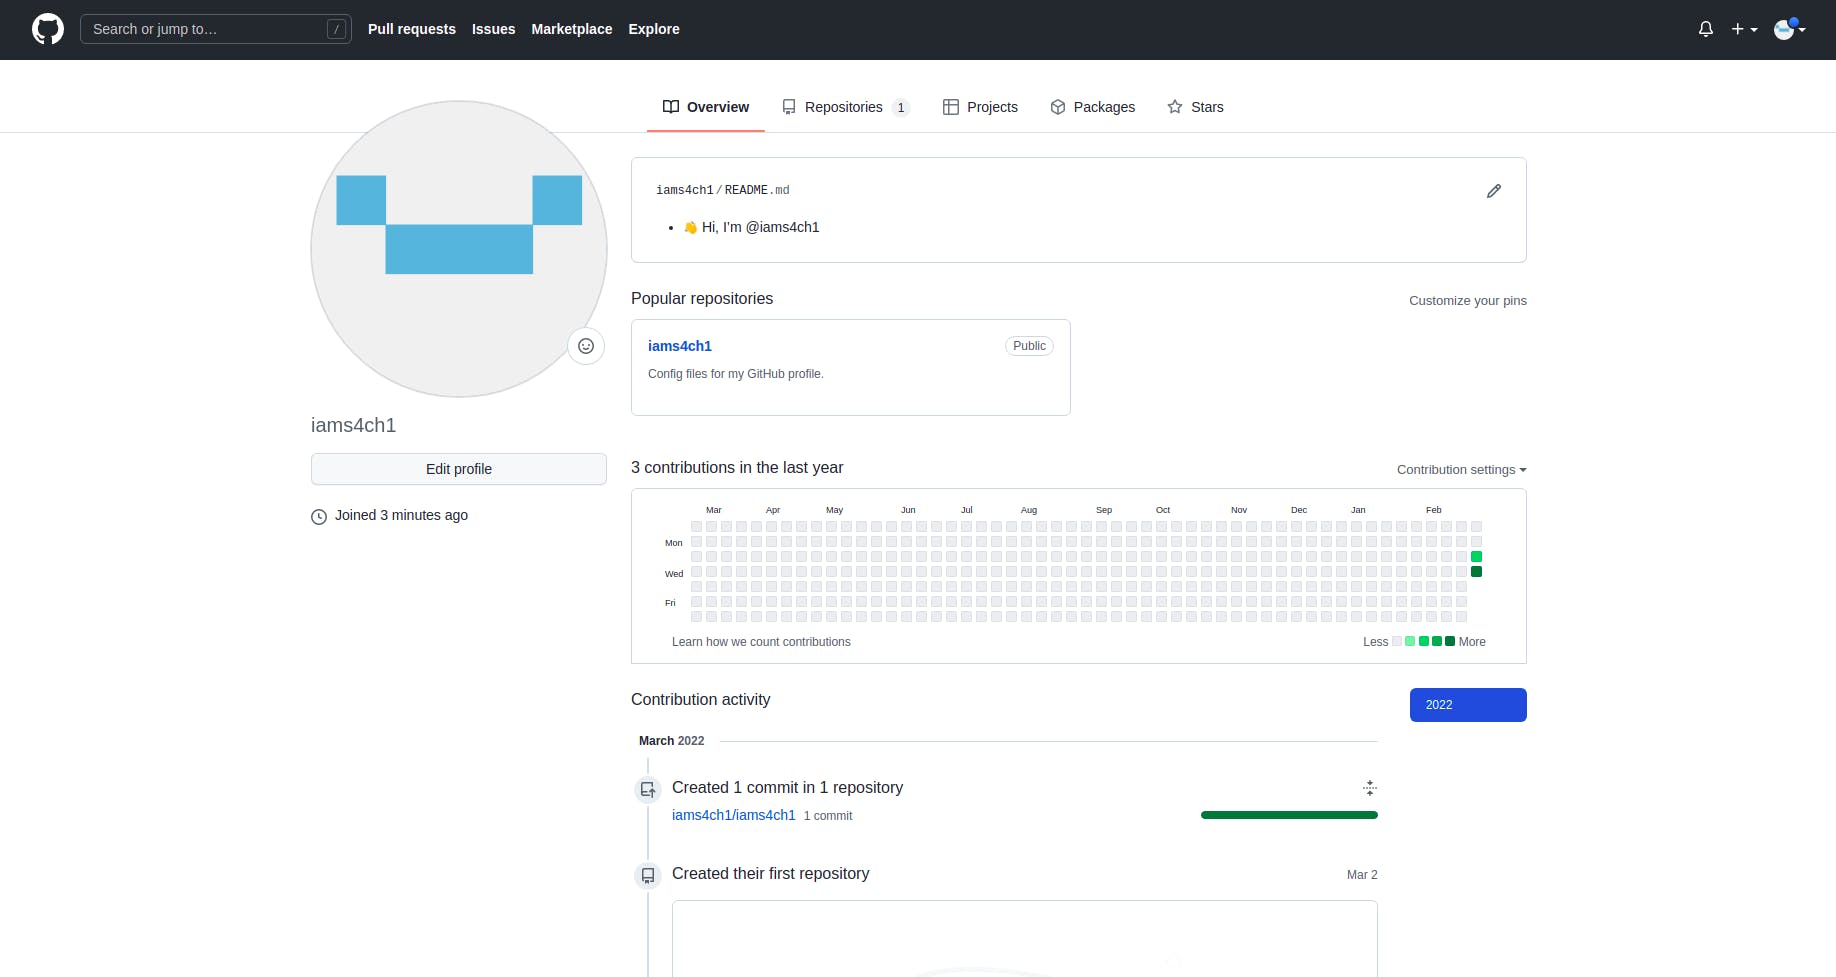
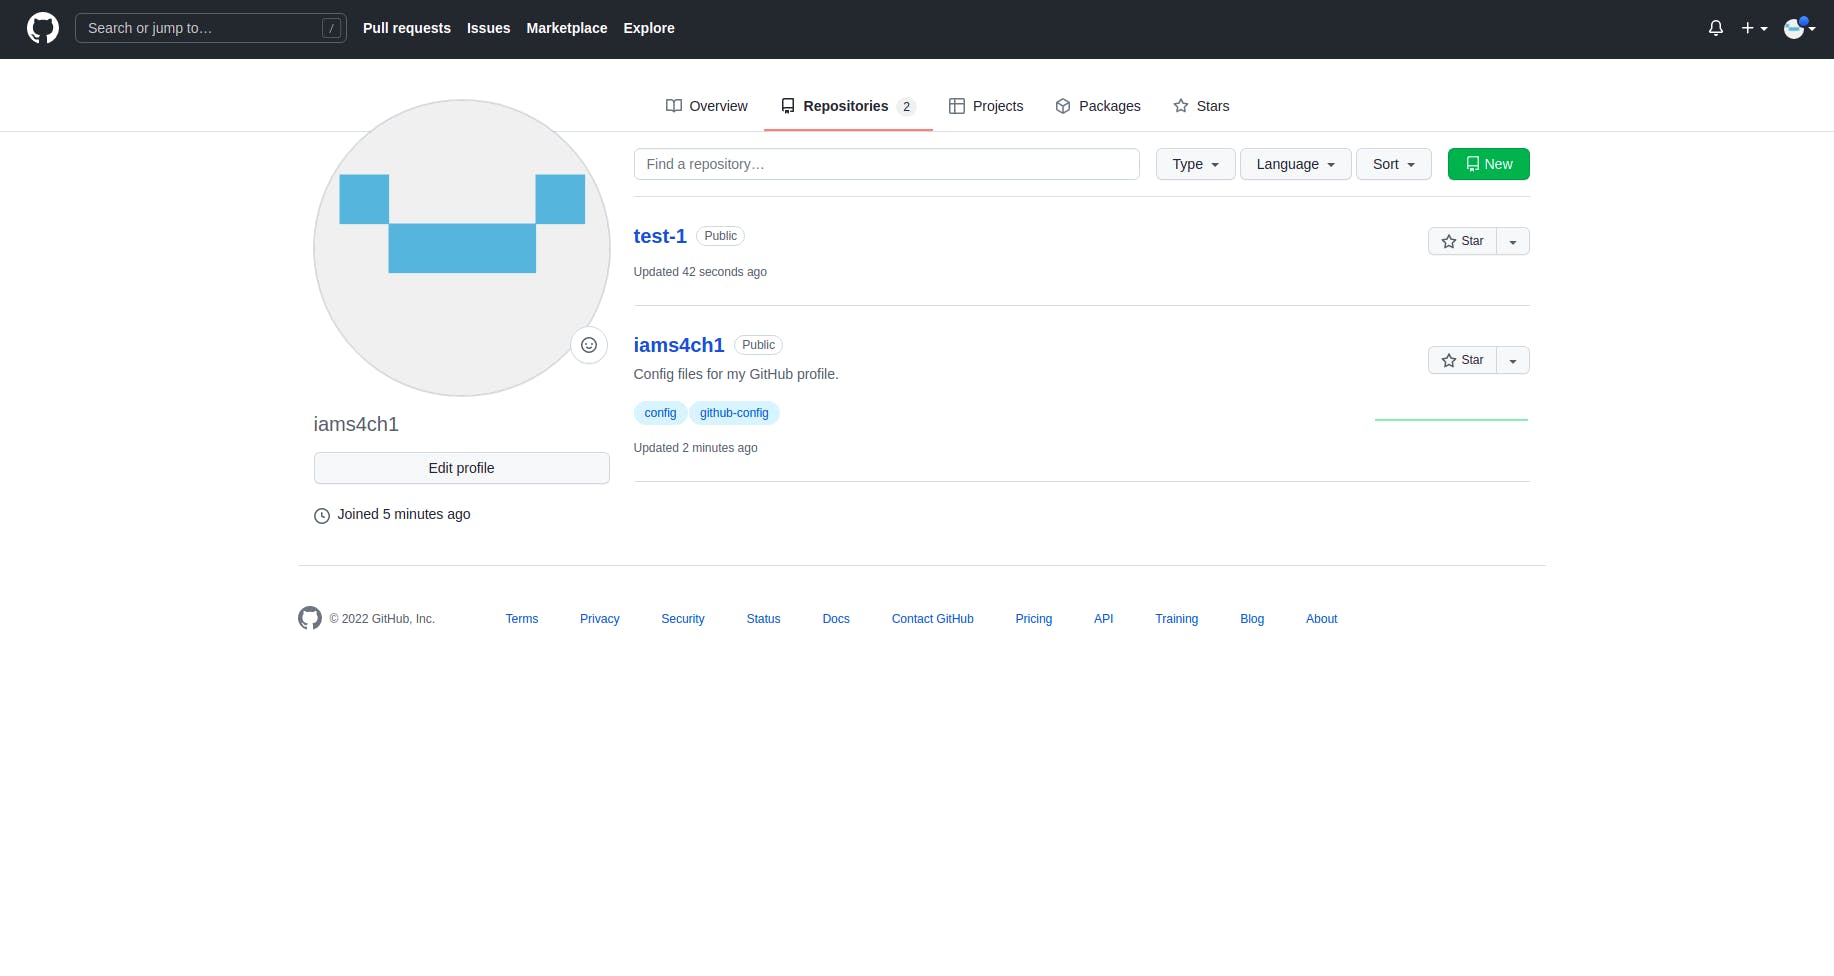
- If you followed the given steps correctly your newly created GitHub account will look something like this.
How to create a repository in GitHub?
This is how you create a repository in GitHub.
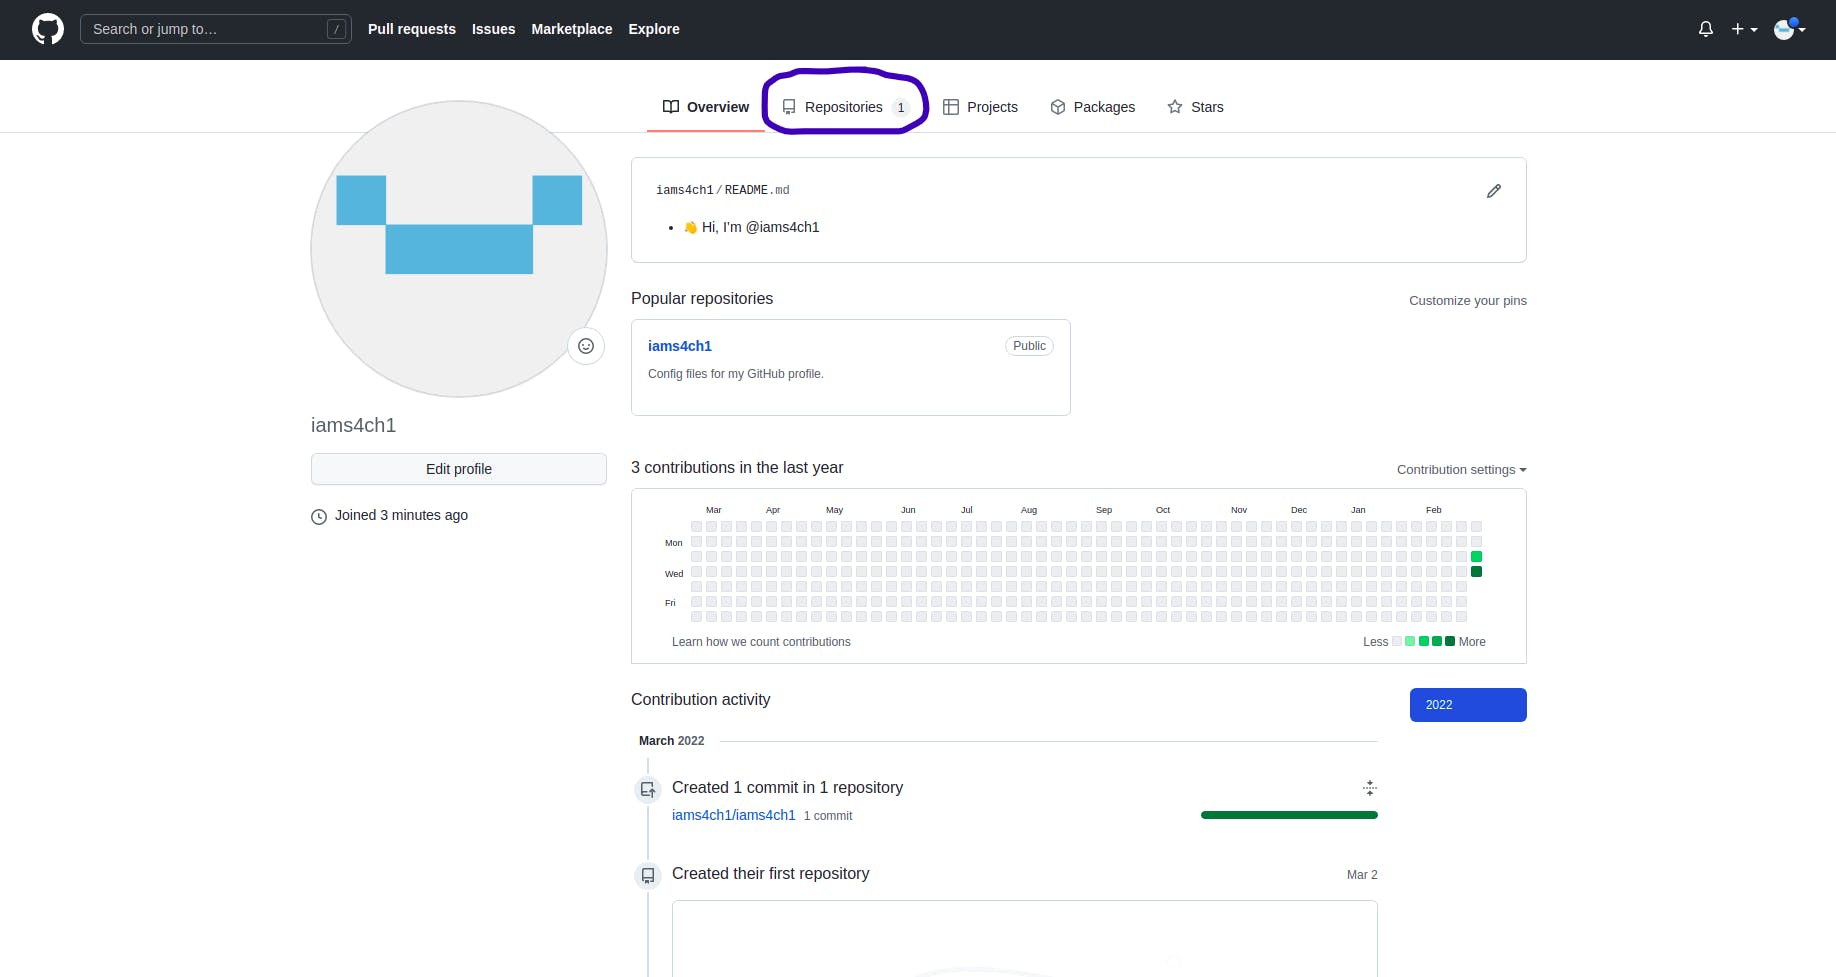
- Go to the "Repositories" section.
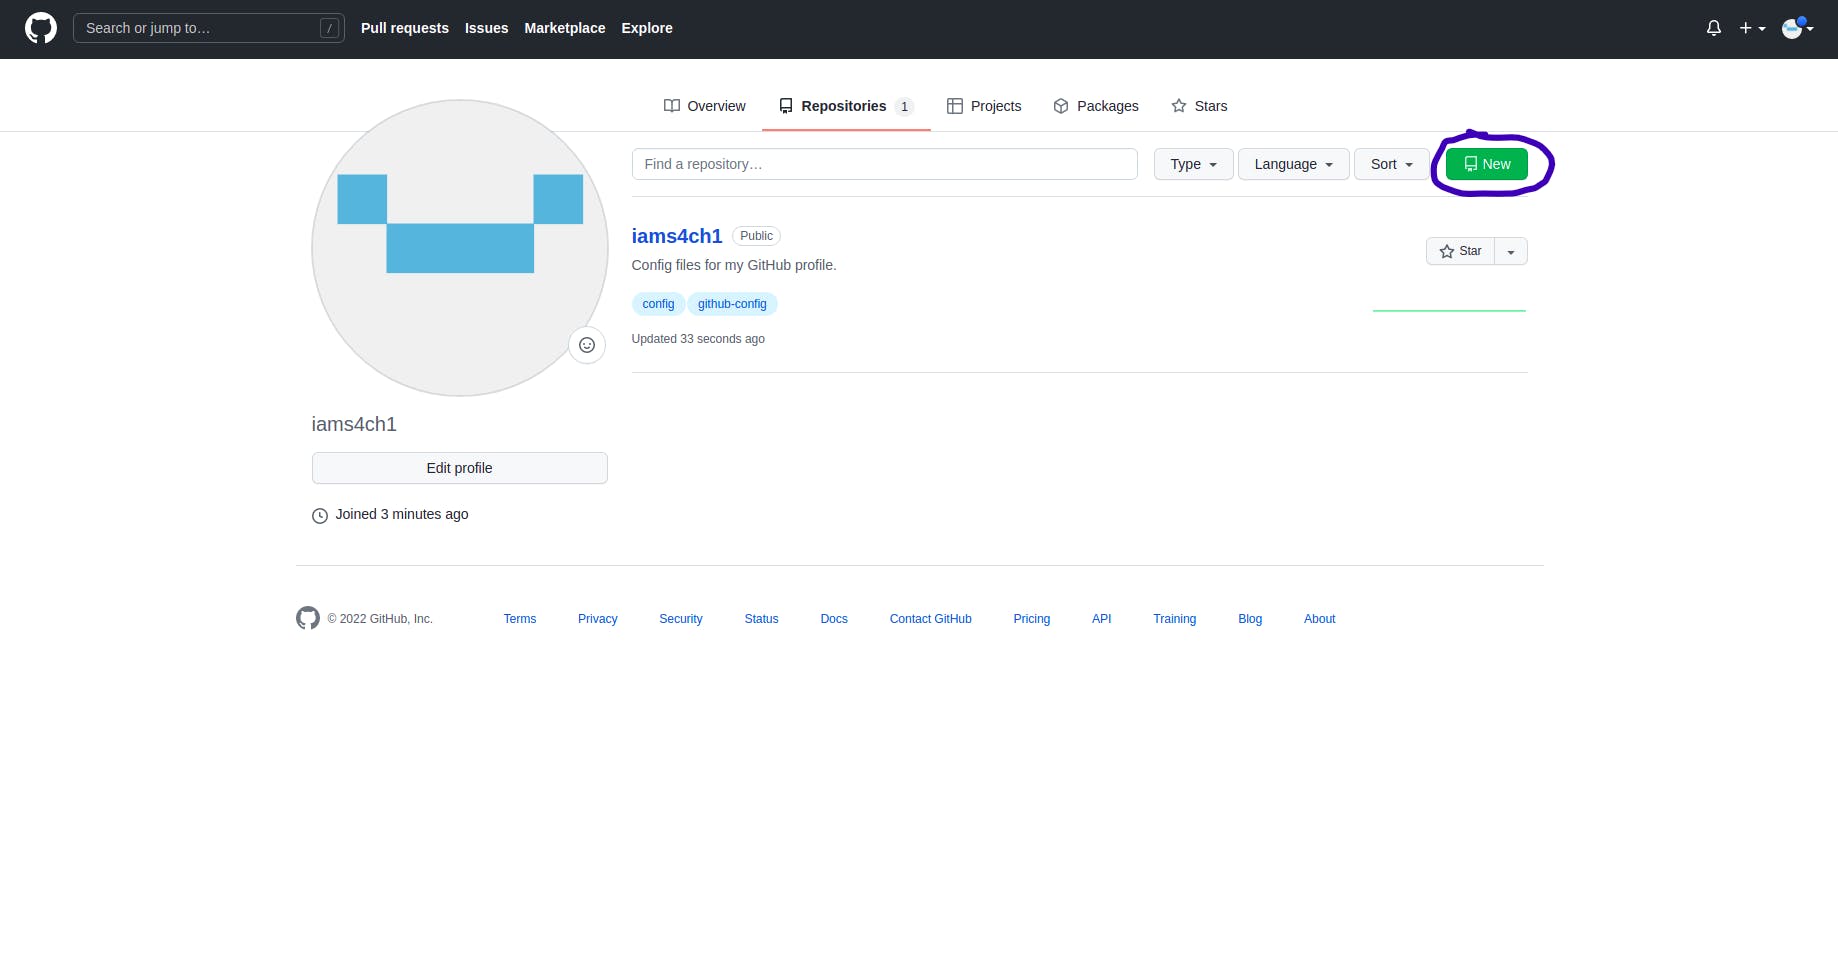
- Click on the "New" button to create a new repository.
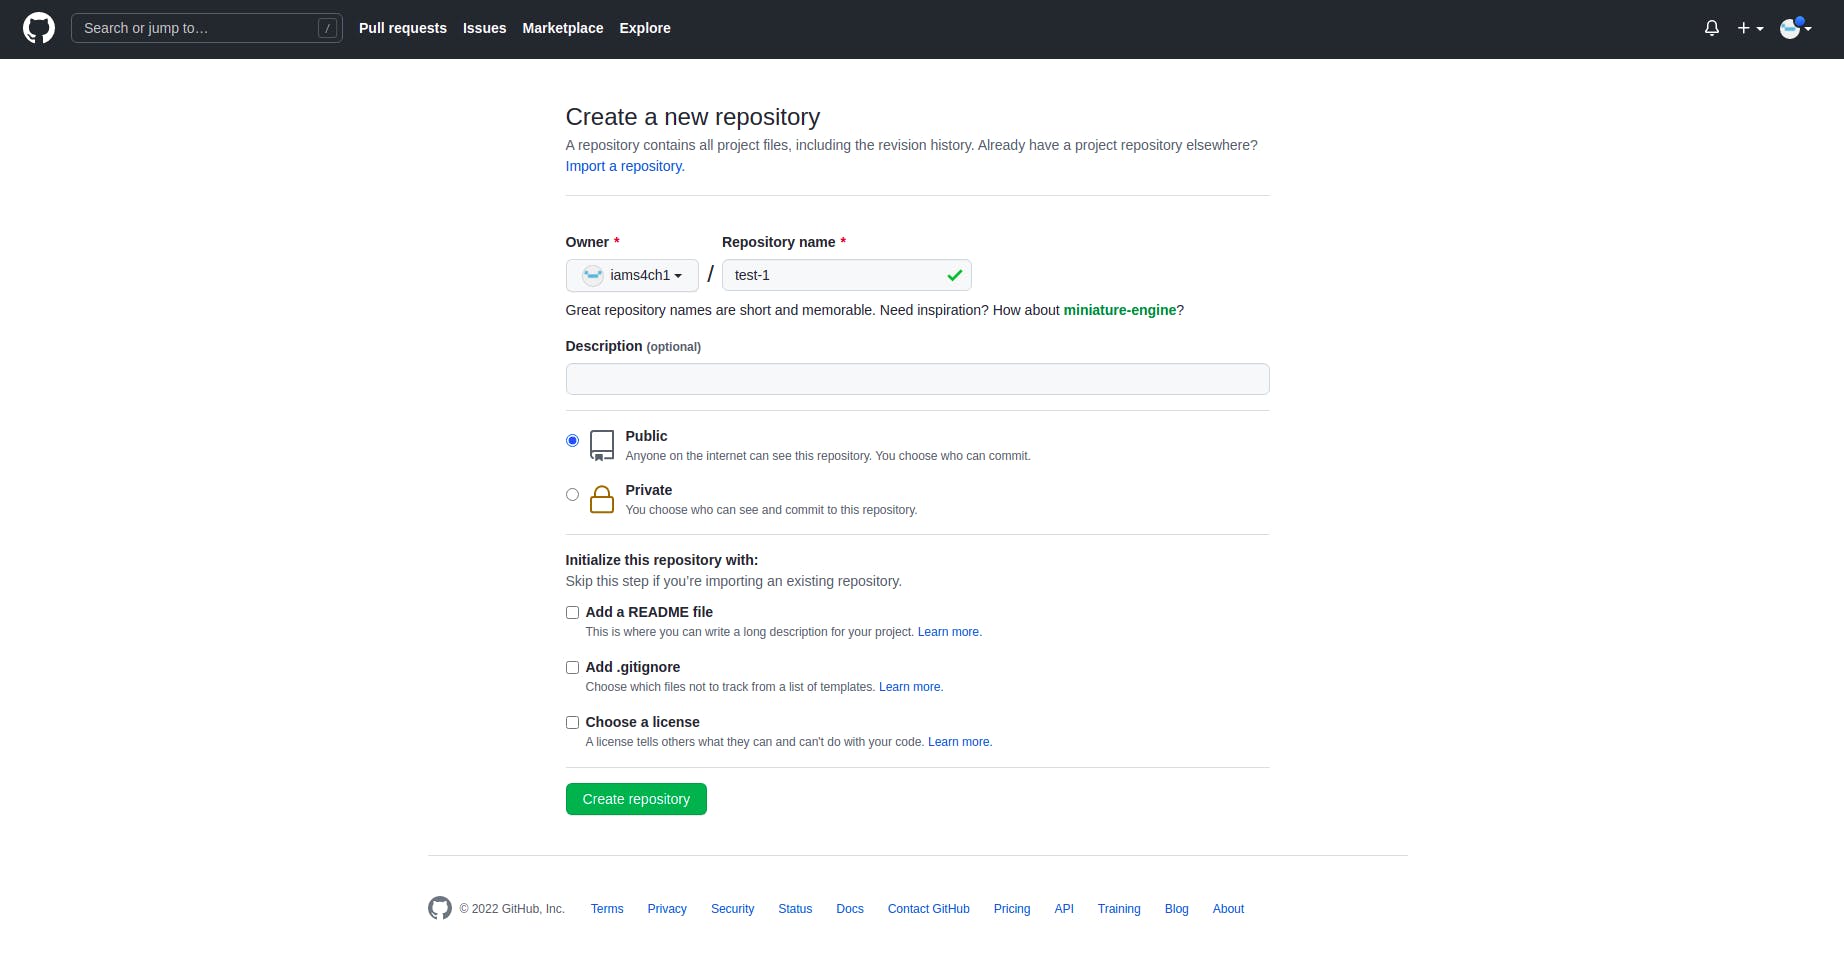
- Give your repository a name and a description(optional). Then set the visibility of your repository to public or private. It is recommended to include a README, LICENSE, and .gitignore in every repository. You can add those and then click on "Create Repository".
- Now, if you go to the "Repositories" section in your GitHub profile, the newly created repository can be seen there.
Basic Git Commands
git init
You can initialize a local repository by using git init. This command can be used to convert an existing, un versioned project to a Git repository or initialize a new, empty repository. Most other Git commands are not available outside of an initialized repository, so this is usually the first command you'll run in a new project.
To initialize a project, go to the project folder on your computer via your command line or terminal and then run the command,
git init
It will create a dot git (.git) folder inside your project folder containing all of the necessary Git metadata for the new repository.
git add
The command, git add will add the file or files that you specify to the staging area or the index, and they'll then be ready to commit.
Note: The "index" keeps a snapshot of the working tree's content, and the contents of the next commit are based on this snapshot. You must use the git add command to add any new or updated files to the index after making changes to the working tree and before executing the commit command.
git add <FILENAME>
In here you should replace the FILENAME with the name of the file you want to add to the staging area. For example if you want to add "README.md" file to the staging area simply use,
git add README.md
To add all the all files in the entire repository to staging area you can use,
git add .
This will not add the files that are listed in the .gitignore to the staging area.
Note: gitignore is a file where we can include the files or folders that we don't want to include in our repository at all. Click here to learn more about gitignore.
You can run git add as many times as you need to before committing and it'll just keep the files in the staging area.
git status
If you want to see what you have in the staging area and are ready to commit, you can just run the command below.
git status
This command shows you the current condition of your working directory and the staging area.
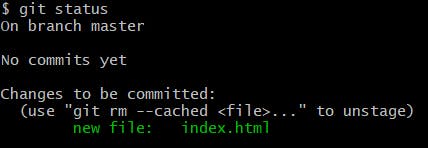
The command, git status shows you which changes have been staged and which haven't, as well as which files aren't tracked by Git. But you won't find any information about the committed project history in the status output. You can use git log command for that.
git commit
When you're ready, you can go ahead and commit your files by using the command below.
git commit
This command takes a snapshot of the currently staged changes of the project. Committed snapshots of a project might be viewed as "safe" versions of that project. Unless you specifically request it, Git will never modify them.
There are some common options that you can use with the git commit command.
git commit
This command is used to commit the snapshot that has been staged. This will open a text editor and ask you to type a commit message. To produce the real commit, save the file and close the editor once you've added a message.
git commit -a
By using this command, we can commit a snapshot of the working directory's modifications. This only includes the modifications to tracked files.
git commit -m "commit message"
This is the shortcut command to produce a commit with the commit message you specify right away.
git commit -am "commit message"
This is the shortcut command that combines the -a and -m parameters. This command takes an inline commit message and quickly commits all the staged modifications.
git commit --amend
Passing this option modifies the previous commit. Staged changes will be applied to the previous commit rather than creating a new one.
git push
The git push command syncs local commits to the remote branch. It's one of Git's four commands that allows you to interact with a remote repository. The command, git push can be referred to as "update" or "publish."
By default, git push only updates the remote branch that corresponds to the local branch. When you do git push while checked out to the main branch, only the main branch will be updated. Before pushing to the remote, it's highly advisable to run git status command to determine what branch you're on.
Some of the common usages and options for git push command can be found below.
git push -f
This command is used to force a push that would otherwise be blocked, usually because it will delete or overwrite existing commits.
git push -u origin <BRANCH>
This command is useful when pushing a new branch, this creates an upstream tracking branch with a lasting relationship to your local branch.
git push --all
This command can be used to push all the branches
git push --tags
This command is used to publish the tags that aren't yet in the remote repository
git pull
The command, git pull is a command that combines git fetch and git merge.
git fetch
git fetchThe command, git fetch updates all remote-tracking branches in the local repository on its own. On any of the local working branches, no modifications are actually reflected.
git merge
git mergeThe command, git merge merges the corresponding remote tracking branch to the local working branch without any arguments.
You can get both parts of these updates by using git pull.
git pull
However, if you are checked out to the feature branch and do git pull, any subsequent updates will not be added when you checkout to master. It's always a good idea to run git pull whenever you checkout to another branch that might have new changes.
Some of the common usages and options for git pull can be found below.
git pull
This command updates your local working branch with commits from the remote, and update all remote tracking branches.
git pull --rebase
This command is used to update your local working branch with commits from the remote, but rewrite the history so any local commits occur after all new commits coming from the remote, avoiding a merge commit.
git pull --force
This option allows you to force a fetch of a specific remote tracking branch when using the option that would otherwise not be fetched due to conflicts. To force Git to overwrite your current branch to match the remote tracking branch.
git pull --all
This fetches all remotes. This option is very useful if you are working on a fork or in another use case with multiple remotes.
git branch
A branch indicates a separate line of development. The edit/stage/commit procedure is abstracted using branches. They can be thought of as a mechanism to request a new working directory, staging area, and project history. New commits are recorded in the current branch's history, resulting in a fork in the project's history.
By using the git branch command, you can create, list, rename and delete the branches. It doesn’t let you switch between the branches or put a forked history back together again. For this reason, the git branch is tightly integrated with the git checkout and git merge commands.
Common options that are used with git branch can be found below.
git branch
By using this command you can get a list of all the branches in your repository. This is synonymous with git branch --list.
git branch <BRANCH>
This command creates a new branch. The name of the new branch will be <BRANCH>. For example if you want to create a branch named "experiment", Then you have to run the command "git branch experiment". This does not check out the new branch.
git branch -d <BRANCH>
This command deletes the specified branch. This is a “safe” operation in that Git prevents you from deleting the branch if it has unmerged changes.
git branch -D <BRANCH>
This command is used to force delete the specified branch, even if it has unmerged changes. This is the command to use if you want to permanently throw away all of the commits associated with a particular line of development.
git branch -m <BRANCH>
By using this command you can rename the current branch to <BRANCH>.
git branch -a
This command will list all remote branches.
git checkout
The command, git checkout, allows you to switch back and forth between the branches. Checking out a branch adjusts the contents inside the working directory to reflect the branch's version. And also, it notifies git to keep track of any new commits.
Some of common options that are used with git branch can be found below.
git checkout <BRANCH_NAME>
In here, specifies the name of the local branch that you want to switch to. By using this command, you can switch to the branch you prefer and make it the current "HEAD" branch.
git checkout -b <NEW_BRANCH>
This command creates a new local branch and directly switches to it. You can use this command as a shortcut for the following two commands:
git branch <NEW_BRANCH_NAME>
git checkout <NEW_BRANCH_NAME>
git checkout -b <NEW_BRANCH> --track <REMOTE_BRANCH>
This command establishes a new local branch and configures it to be "upstream." This establishes a tracking relationship between the new local branch and its remote counterpart.
git remote
By using the git remote command, you can create, view, and delete connections to other repositories. Instead of being direct links to other repositories, remote connections are more like bookmarks. They function as convenient names that can be used to reference a not-so-convenient URL rather than enabling real-time access to another repository.
Usage overview of git remote command can be found below.
git remote
This command displays a list of your remote connections to other repositories.
git remote -v
Same as the git remote command, but this command includes the URL of each connection as well.
git remote add <NAME> <URL>
This command creates a new connection to a remote repository. After adding a remote, you’ll be able to use <NAME> as a convenient shortcut for <URL> in other Git commands.
git remote rm <NAME>
This command removes the connection to the remote repository called <NAME>.
git remote rename <OLD_NAME> <NEW_NAME>
This command is used to rename a remote connection from <OLD_NAME> to <NEW_NAME>.
git clone
Git clone is a command-line tool that allows you to make a copy of an existing repository or a branch within a repository.
There are some common usages and options for git clone.
git clone <URL>
This command is used to clone a repository that already exists on GitHub, including all of the files, branches, and commits.
git clone --mirror
This command clones a repository but you can't edit any of the files. This includes the refs or branches. If you're trying to create a secondary copy of a repository on a different remote, and want to match all of the branches, this is the method to utilize. This can happen when setting up a new remote for your Git hosting or when running automated tests with Git.
git clone --single-branch
This command is used to clone only a single branch
git clone --sparse
Instead of recursively populating the working directory along with all the files in the current commit, only populate the root directory with files. When cloning big repositories with many directories and sub-directories, this could improve performance.
Conclusion
Git and GitHub are two of the most commonly used technologies in the software industry. In this article, I tried to give a brief introduction to Git and GitHub. Also, I included a list of the most commonly used git commands and their usages.
Hope you learned something new from this article and see you soon with another new article.